Here, we will compare the interrupts of three MCUs:
- The CC2544 by Texas Instruments, which is used in the USB dongle for the Logitech M570 wireless mouse. This is technically a system-on-chip, but part of the system is a microcontroller, which we will be focusing on.
- The ATmega328P by Microchip (Microchip acquired Atmel, who used to produce the chip), used in the Arduino Uno.
- The STM32L151C6 by STMicroelectronics, which is used in the Fitbit Charge.
I picked the above microcontrollers because I could show the familiar products they are used in and give them real-world relevance.
Please bear in mind that all the statements I make about how microcontrollers work in general or how a particular microcontroller works are not immutable facts. While in the case of general statements, I will be talking about what has become common practice, many of these are design decisions that specific people have made for their particular product based on various factors. They do not have to exist that way and they could change at a later time if a different group of people with similar influence make different design decisions. So when I say a specific microcontroller has 10 GPIO pins, what I really mean is that the team that designed the microcontroller decided to provide 10 GPIO pins for the current version I am referring to. A future version may have more or less GPIO pins.
To help solidify some of the ideas I've presented throughout this series, I will show how each of the three example microcontrollers implements GPIO interrupts and how you would activate an interrupt on a particular pin for each one.
Texas Instruments CC2544
The first microcontroller we'll take a look at is the CC2544 SoC from Texas Instruments.
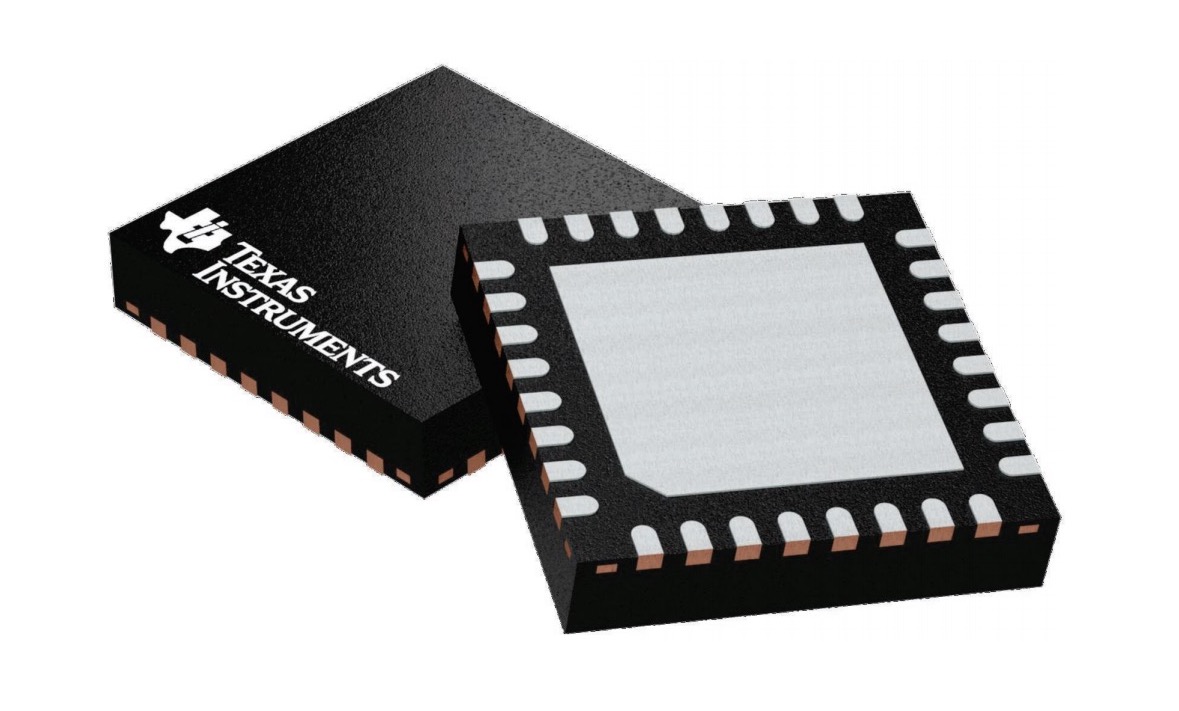
Image from Texas Instruments
GPIO Pins with Interrupt Capabilities
The CC2544 has 8 GPIO pins divided into two ports (PORT0 and PORT1) with four pins each. All the pins have interrupt capabilities and each pin has a separate interrupt flag.
Interrupt Configuration
All 8 pins can be independently configured. Each pin can be configured to detect either only a rising edge (change from 0 to 1) or only a falling edge (change from 1 to 0). Each pin’s interrupt can be enabled or disabled independently. The interrupt flag for a pin is always set when the event it is configured for occurs—regardless of whether the interrupt is enabled or disabled.
Interrupt Vector, Service Routine, and Priorities
Each port has one interrupt vector per port (PORT0 is P0INT and PORT1 is P1INT). Each interrupt vector can be enabled or disabled individually. Each vector also has an interrupt flag in the interrupt controller that is set when the interrupt condition is enabled. It is not clear from the documentation whether P0INT and P1INT flags get set only if the pin interrupt in the GPIO is enabled. I assume this is the case. The P0INT and P1INT flags in the interrupt controller, however, do get set regardless of whether or not they are enabled inside the interrupt controller; the CPU will only respond to the interrupt if they are enabled.
Since the interrupt vectors exist for the port, you have to check the pin flags in your ISR to figure out which pin from that port generated the interrupt. You also have to clear the pin flags and the interrupt vector flag in your ISR. The pin flags must be cleared first before the interrupt vector flags.
For the CC2544 (in general), each interrupt vector does not necessarily have a separate priority that can be set directly. Each interrupt vector is part of a group with at most two other interrupt vectors. The priority is assigned to the group and you can set the group priority. There is, however, a preset order of handling interrupts if they happen to have the same priority. P0INT and P1INT belong to different interrupt priority groups, so focusing on just those two, you can control the order in which they are handled.
ISRs in the CC2544 can be preempted by higher priority interrupts.
Microchip ATmega328P
The second on our list is the ATmega328P 8-bit AVR microcontroller.
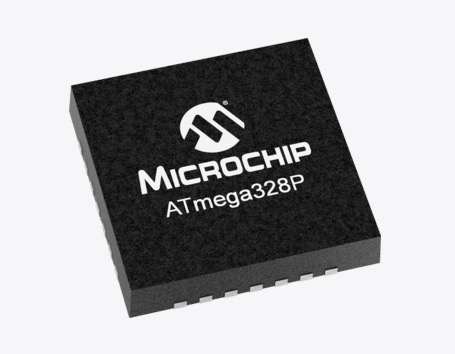
Image from Microchip
GPIO Pins with Interrupt Capabilities
The ATmega328P has 23 GPIO pins divided into three ports: PORTB (eight pins), PORTC (seven pins), and PORTD (eight pins). All the pins have interrupt capabilities through a pin change interrupt. However, there are no individual interrupt pin flags. Instead, each port has an interrupt flag, except two pins on PORTD, which can be configured as external interrupts. They have separate interrupt flags.
Interrupt Configuration
The 23 pin change interrupts are preset to detect a logical change in the pins’ value (either 0 to 1 or 1 to 0). The two external interrupts, however, can be configured to detect a logical, only a rising edge (change from 0 to 1), only a falling edge (change from 1 to 0), or steady 0 value. Each pin’s pin change interrupt can be enabled or disabled independently. In addition, each port’s interrupt can be enabled or disabled.
The interrupt flag for the port or any of the external pins is always set when the event it is configured for occurs, regardless of whether the interrupt is enabled or disabled. In addition, the flag will be set regardless of whether the pin is configured as an output or input.
Interrupt Vector, Service Routine, and Priorities
Each port has one interrupt vector per port (PORTB is PCINT0, PORTC is PCINT1, PORTD is PCINT2). In addition, each external interrupt pin has its own separate vector (pin 2 in PORTD is INT0 and pin 3 in PORTD is INT1). Each interrupt vector can be enabled or disabled individually, but this is done in the GPIO peripheral and not the interrupt controller (i.e. the interrupt controller does not have separate interrupt vector enable capabilities, and all interrupt vector enables are done in the peripherals).
Since the interrupt vectors exist for the port, for pin change interrupts, you have to figure out which pin and what event triggered the interrupt in your ISR. This would require reading the interrupt mask for the port (to find out which pins’ interrupts are enabled) and the current value of the pin to figure out what logical change occurred. For the two external interrupts, however, you will already know which pin caused the interrupt because each pin has a separate vector. The hardware automatically clears the interrupt flag for the external interrupts, though you can still clear them through your code, as well, to be safe.
For the ATmega328P, the interrupt priorities are fixed and cannot be changed. After the reset interrupt, the pin interrupts have the highest priority among all interrupts in order INT0, INT1, PCINT0, PCINT1, PCINT2.
ISRs in the ATmega328P can be preempted by higher priority interrupts, but this does not happen automatically. When an ISR starts, the CPU disables all interrupts. You have to manually enable interrupts in your ISR code to allow preemption. In addition, there is a register called the AVR status register which is part of the CPU, whose value the CPU does not automatically store before entering an interrupt or restore after exiting the interrupt. You have to store and restore the value in your ISR. The reason you have to do this is because the CPU must resume in the state that it was in before the interrupt occurred. It is possible that actions you take in your ISR may modify this register, so if you don’t keep the value it had before your actions start and restore it, the CPU will return to a different state after your interrupt and could create hard-to-find bugs in your system.
STMicroelectronics STM32L151C6
The final MCU we'll be considering is the STM32L151C6 32-bit MCU.
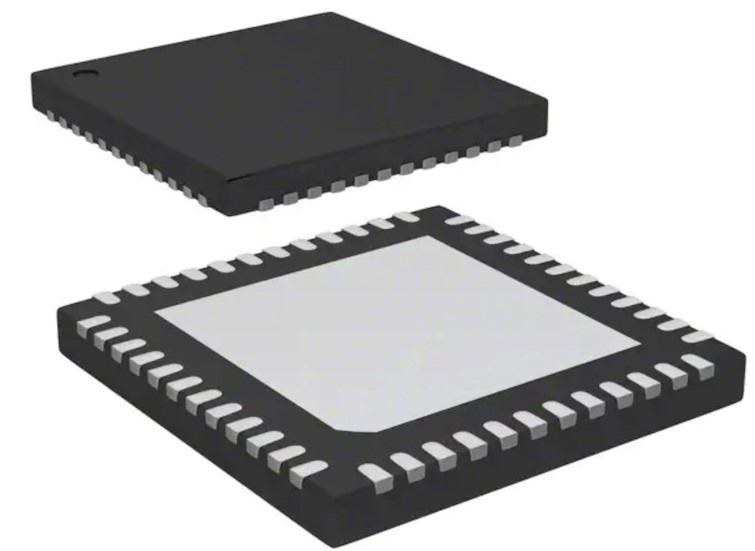
Image from STMicroelectronics via Digi-Key
GPIO Pins with Interrupt Capabilities
The STM32L151C6 has 37 GPIO pins, but only 16 of them can be configured to generate interrupts (called external interrupts) at any point in time. There are also some restrictions on which pins can be configured to be interrupts at the same time.
The 37 pins are divided across four ports:
- PA (16 pins)
- PB (16 pins)
- PC (3 pins)
- PH (2 pins)
For PA and PB, pins are labeled from 0 to 15. PC has pins 13–15, and PH has pins 0 and 1. All pins with the same number label (e.g. PA0, PB0, and PH0) share an external interrupt line (external interrupt 0), so only one of them can be configured to be the interrupt at any point in time.
Unlike the ATmege328P and CC2544, there is a separate external interrupt handling device independent of the GPIO peripheral that handles the pin interrupts. This device is also different from the overall interrupt controller for the microcontroller. Each external interrupt has its own flag.
Interrupt Configuration
Each external interrupt line must be configured to the GPIO pin that generates the interrupt on that line. Each external interrupt can be configured to detect a logical change (0 to 1 or 1 to 0), only a rising edge (change from 0 to 1), or only a falling edge (change from 1 to 0). This is because the peripheral is design, so you can turn the rising edge and falling edge detection on or off independently. Each interrupt can be enabled and disabled independently. Unlike the CC2544 and the ATmege328P, the interrupt flag for an external interrupt is only set if the interrupt is enabled.
Interrupt Vector, Service Routine, and Priorities
External interrupts 0 to 4 each have their own separate interrupt vector. External interrupts 5 to 9 share an interrupt vector, and interrupts 10 to 15 also share an interrupt vector. This means there are seven total interrupt vectors related to the GPIO interrupts. Each of these vectors can be enabled or disabled independently. Each vector also has its own flag in the interrupt controller.
The ISR must clear the interrupt flag in the external interrupts (GPIO) module as well as in the interrupt controller. The documentation does not make clear the order in which this should be done, but it makes the most sense to follow the CC2544 approach of clearing the GPIO flags first before the interrupt vector flags.
Priorities in the STML151C6 are a bit more complicated in the way they are configured and how they allow preemption. There are two ways to configure priorities. The simplest way is to use priority levels. There are 16 different priority levels. Only the priority level is used to determine preemption, so an interrupt with a higher priority level can preempt an interrupt that the CPU is currently handling. Each interrupt vector has a unique interrupt number. If two interrupts with the same priority levels are waiting for the CPU, the CPU will select the one with the lower interrupt number once it is able. However, an interrupt with a lower interrupt number cannot preempt another interrupt with a higher priority number, even when they have the same priority level.
The second approach to interrupt configuration is to use group priorities and subpriorities. The number of different groups and subpriorities is also configurable. Regardless of the particular configuration, the group priority functions like the priority level. Interrupts with higher group priority can preempt interrupts with lower group priority. The subpriority and interrupt number are used to determine which interrupt gets to run if two or more interrupts with the same group priority are waiting on the CPU. The subpriority is used first. The one with the higher subpriority is handled before the one with lower subpriority. If both share the same subpriority, then the one with a lower interrupt number is handled first.